

Appointments Help Guide
The Appointments page shows appointment requests that were created from chatbot conversations. Use it to review booking details, track requests, and export appointment data for your team or calendar workflow.
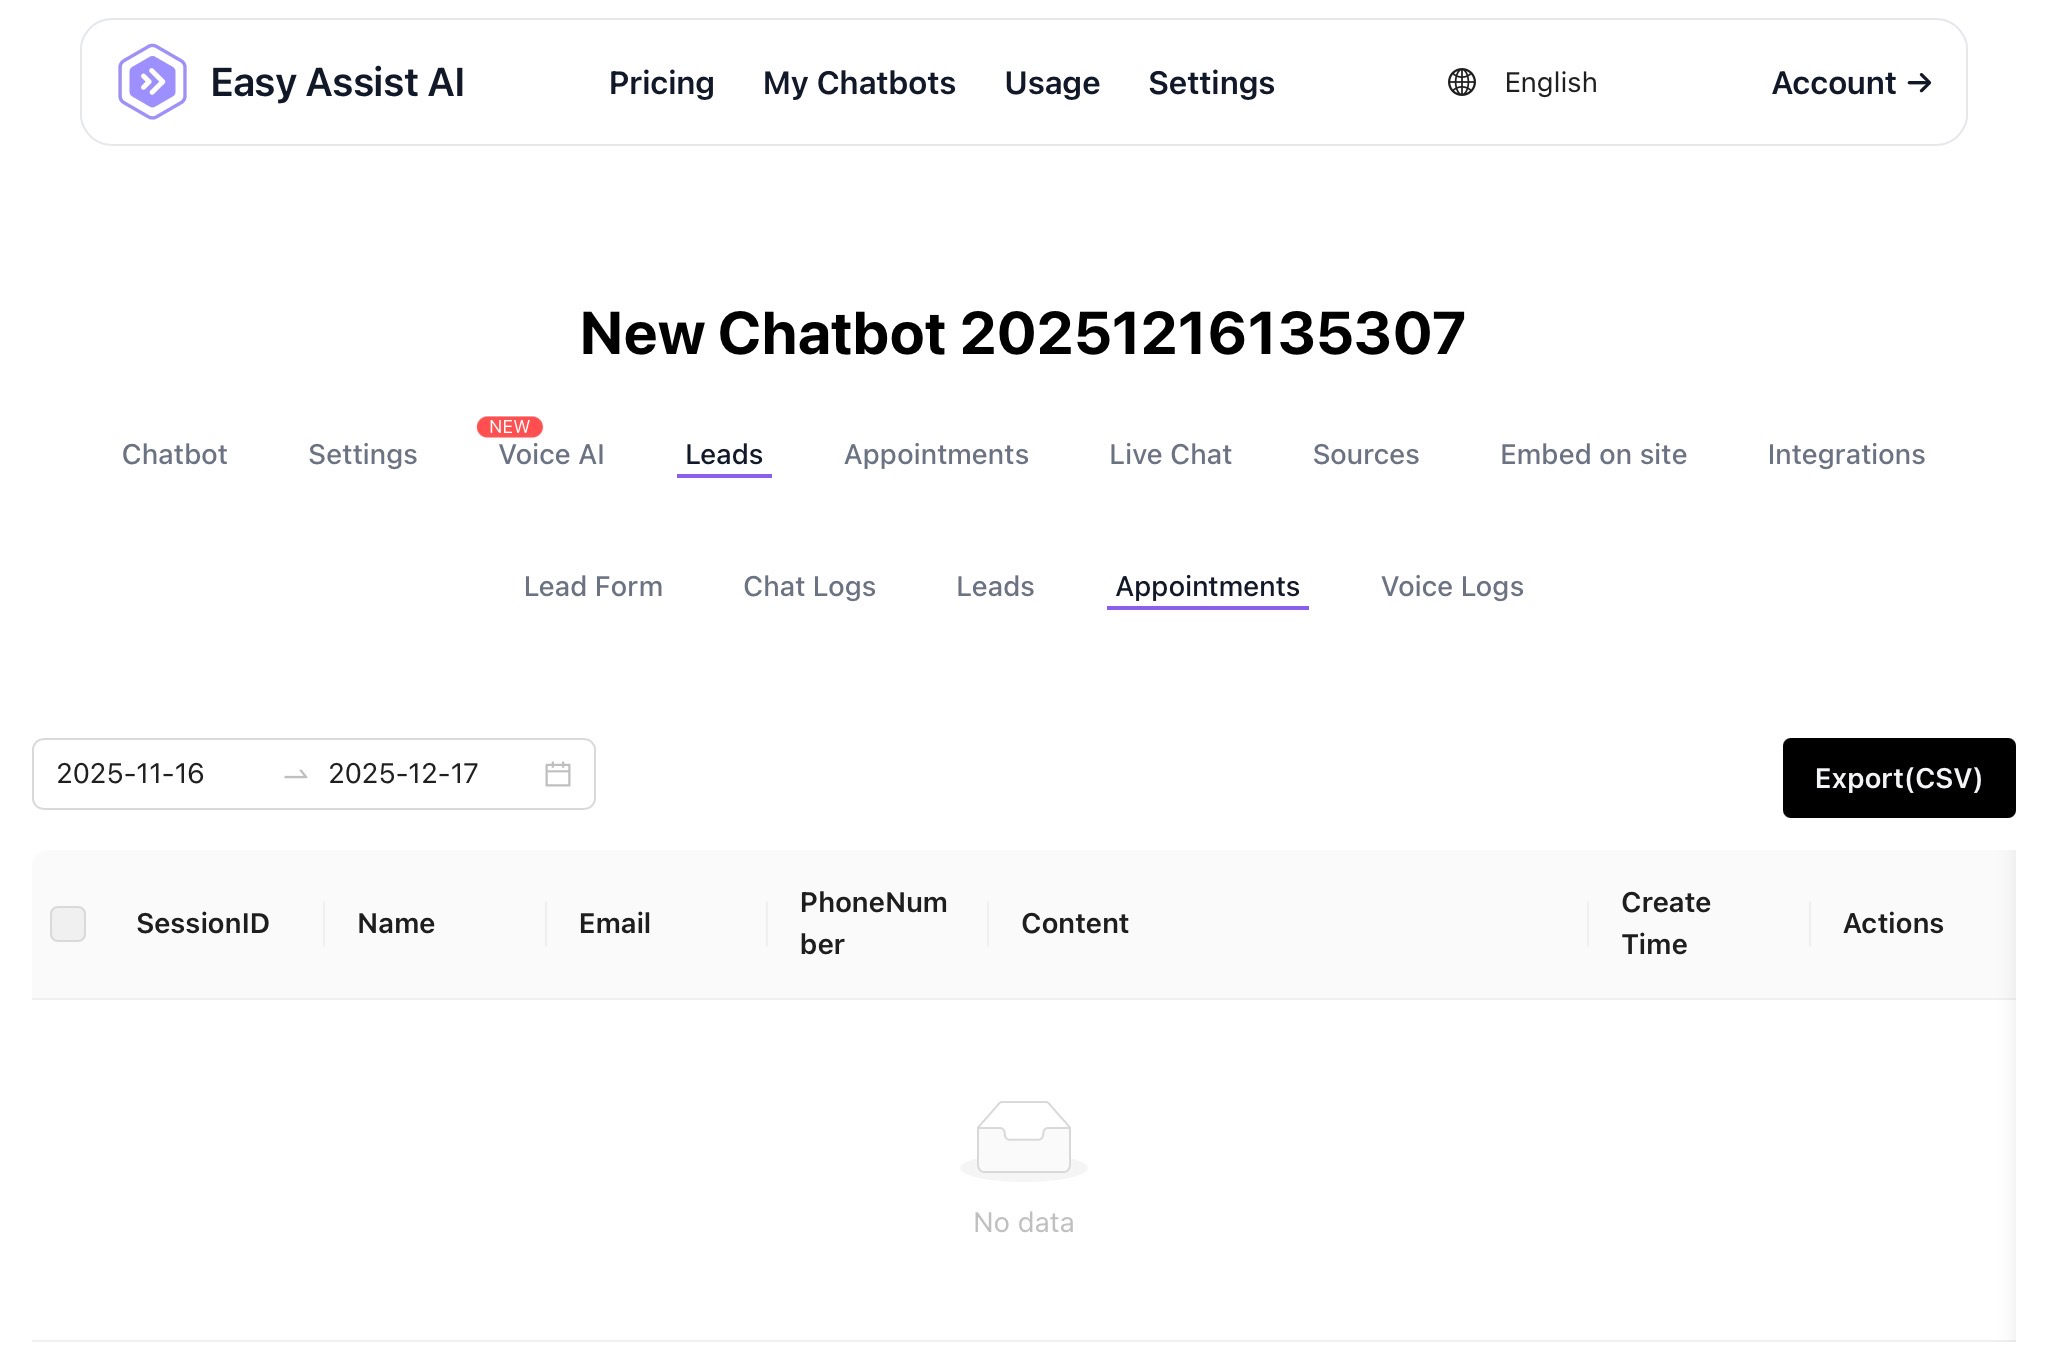
Where to find it:
My Chatbots → (Select a Chatbot) → Leads → Appointments
What you can do in Appointments
View all appointment submissions linked to chatbot sessions
Filter appointments by date range
Export appointment records to CSV
Trace an appointment back to the exact conversation using SessionID
Page overview (what each part means)
1) Date Range Filter
At the top-left (start date → end date).
What it does:
Shows appointment submissions created within the selected date range.
Tip: If you see “No data,” widen the date range (e.g., last 30–90 days).
2) Export (CSV)
Button on the right.
What it does:
Downloads the appointment list (based on your current date range filter) as a CSV file.
Best practice: Filter first → export second.
Appointments table (column definitions)
SessionID
A unique ID for the chat session that generated the appointment.
Use this to locate the full conversation in Chat Logs.
Name
The customer’s name captured during booking (from your Lead Form / appointment flow).
The customer’s email address for confirmations and follow-ups.
Phone Number
Customer contact number (useful for reminders, calls, and SMS).
Content
The appointment details captured during the chat. This can include things like:
Invitee Email
Event Date/Time
Invitee Time Zone
Create Time
Timestamp when the appointment record was created/saved.
Actions
Where you manage a specific appointment entry:
Reschedule
Cancel
Common workflows
A) Review this week’s bookings
Set the date range to the last 7 days
Scan the list (Name, Email, Phone, Content)
Export to CSV and share with your booking/admin team
B) Investigate a booking issue
Copy the appointment’s SessionID
Go to Leads → Chat Logs
Paste the SessionID to see what the user asked and what the bot replied
C) Export appointments for a calendar/CRM process
Set the date range (e.g., monthly)
Click Export (CSV)
Upload to Google Sheets / CRM / internal tracker
Use Email/Phone to send confirmations manually (if you don’t have integrations yet)
Troubleshooting
“No data”
Try:
Expanding the date range
Confirming your chatbot’s Appointments flow is enabled/configured
Checking if users are reaching the booking step (test the chat on your site)
Missing Email/Phone/Name
This usually happens if:
Those fields are OFF in Lead Form, or
The user didn’t complete the form / skipped providing details
Fix:
Enable needed fields in Leads → Lead Form
Consider using Obligatory Pre-Chat Form for booking-heavy bots
Export is empty / missing records
Exports follow your current filters.
Widen the date range
Export again
Best practices for appointment quality
Ask for Email + Phone for bookings (so you can confirm)
Use the Content field as a structured booking summary (service + preferred schedule)
Create a simple internal process:
Daily: check Appointments
Confirm: message/call customer
Mark result in Notes (or a tracker)