

Leads Help Guide
The Leads page is where you view and manage the contact details captured by your chatbot (from the Lead Form and chat sessions). It helps you search, filter, export, and act on leads for follow-up.
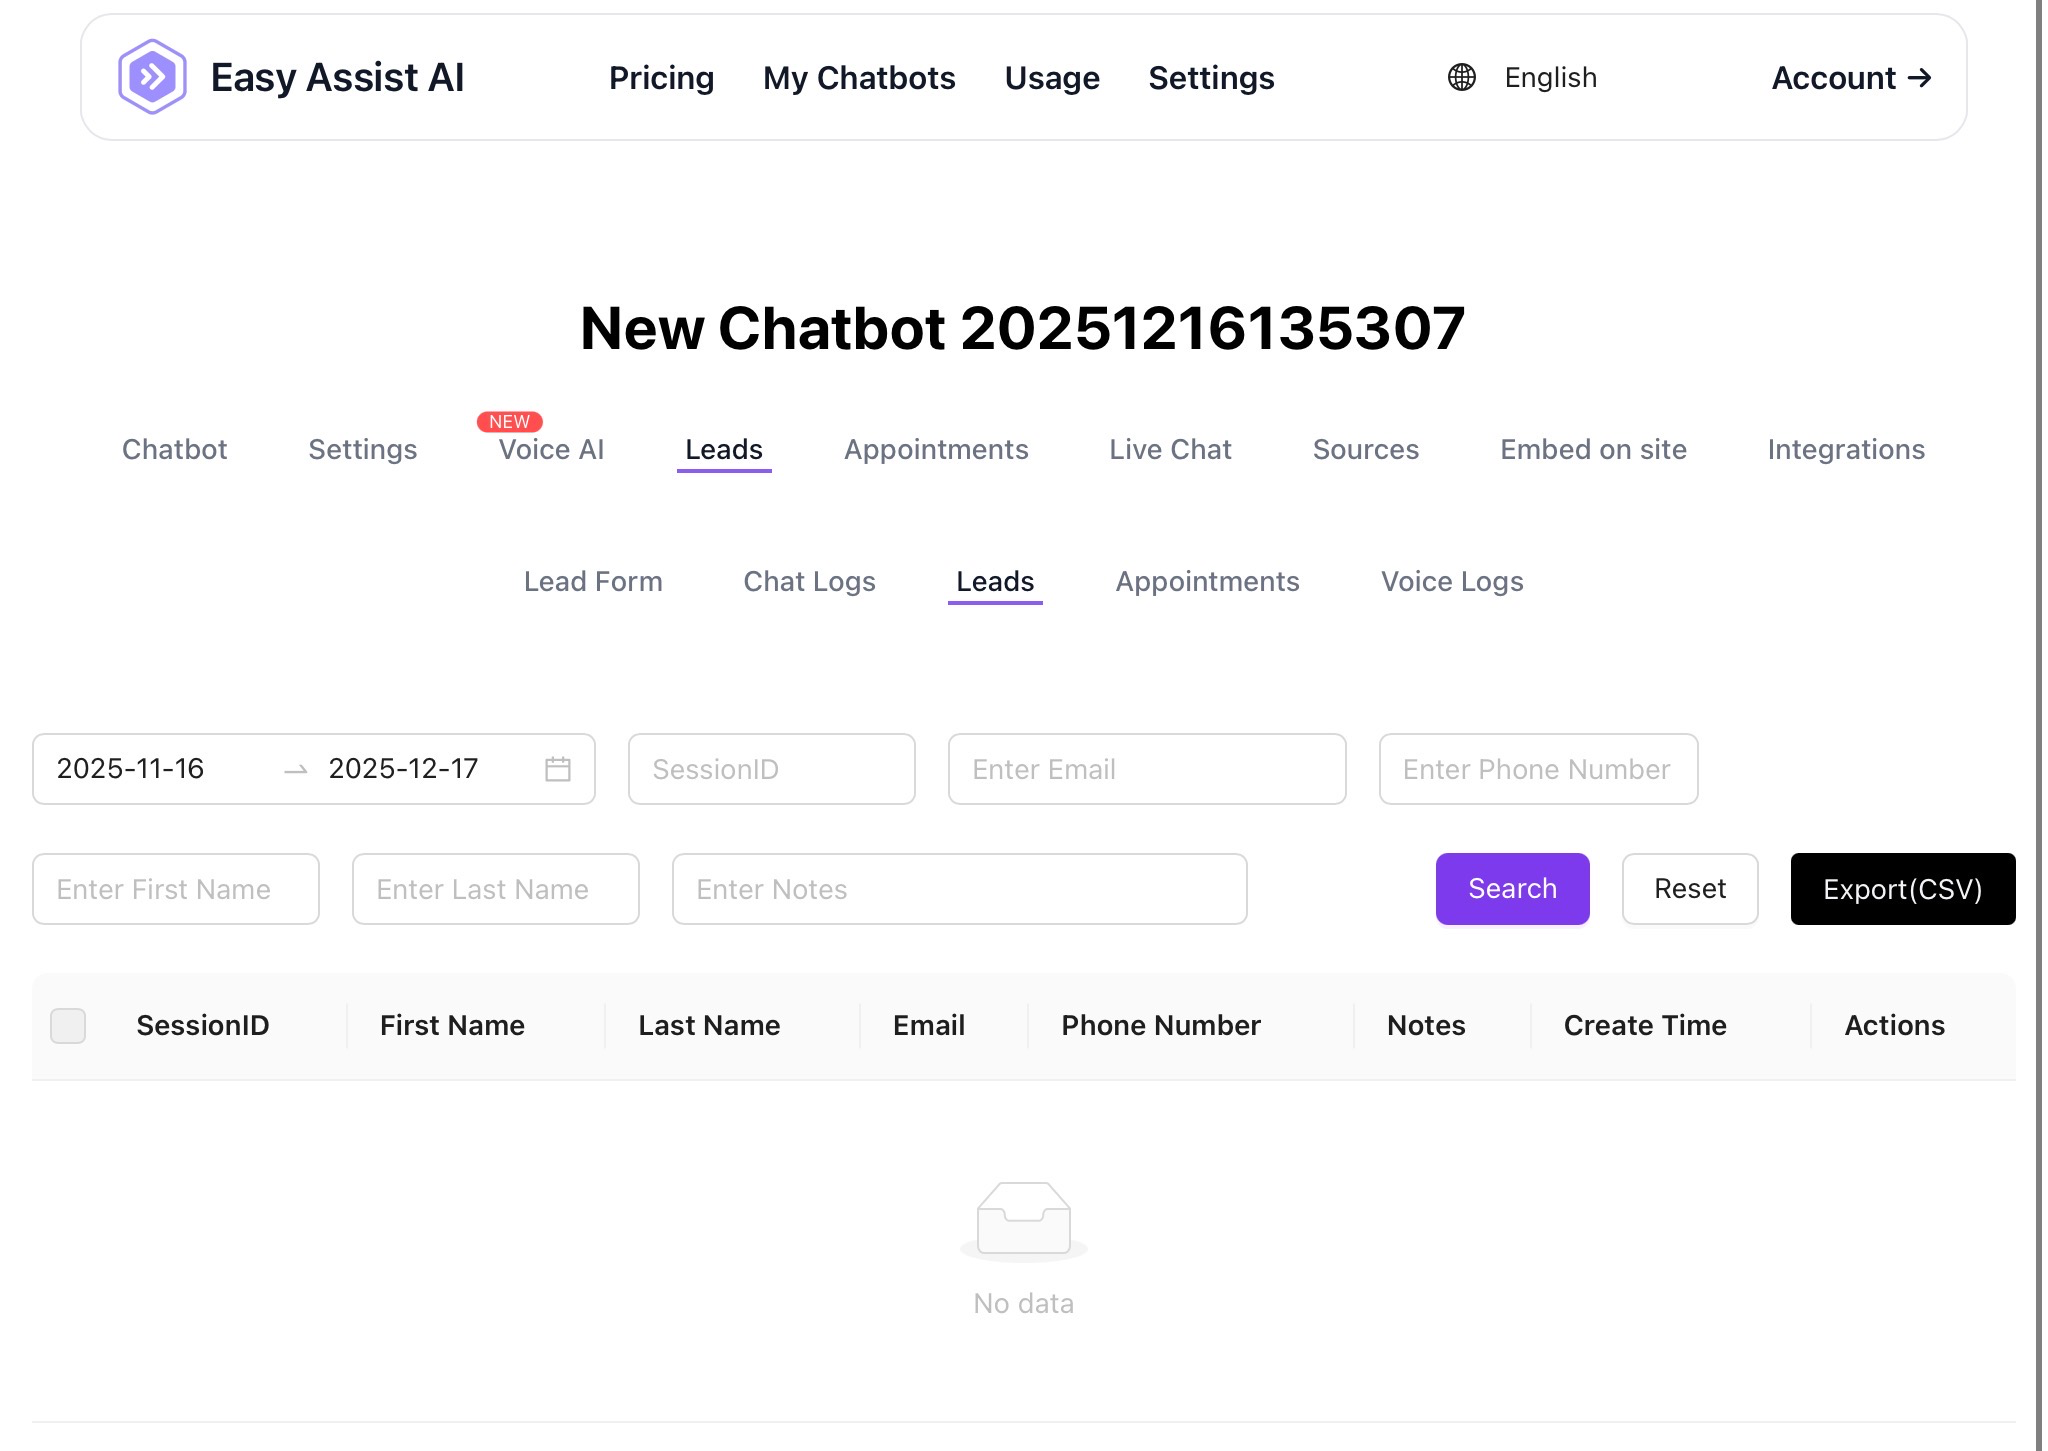
Where to find it:
My Chatbots → (Select a Chatbot) → Leads → Leads
What you can do on the Leads page
Search and filter leads by date range and contact fields
View lead details like name, email, phone, notes, and session ID
Export leads to CSV for follow-up, reporting, or CRM upload
Identify the exact chat session that created the lead (via SessionID)
Page overview
1) Date Range Filter
Located on the left (start date → end date).
What it does:
Shows leads created within the selected date range.
Tip: If you’re not seeing any leads, widen the range (e.g., last 30–90 days).
2) Search Filters (Input Fields)
You can filter leads using any of these fields:
SessionID – Find a lead tied to a specific chat session
Email – Search by email address
Phone Number – Search by phone number
First Name – Search by first name
Last Name – Search by last name
Notes – Search by keywords written in Notes (useful for tags like “VIP”, “Needs follow-up”, “Booked”)
Best practice: Use 1–2 filters at a time for faster, cleaner results.
3) Buttons
Search
Applies your selected filters and shows matching results in the table.
Reset
Clears all filters and returns the page to its default state.
Export (CSV)
Downloads the filtered lead list as a CSV file.
Important: Export uses your current filters. If you want all leads, clear filters and widen the date range before exporting.
Leads table (what each column means)
SessionID
Unique identifier for the chat session associated with the lead. Use this to trace the full conversation in Chat Logs.First Name / Last Name
Collected from the Lead Form if those fields were enabled.Email
Primary contact field for follow-up campaigns and replies.Phone Number
Useful for confirmations, callbacks, or appointment reminders.Notes
A space where the chatbot will automatically add information about the lead.Create Time
When the lead was captured/saved.Actions
You can find the "Link to conversation" and the link to delete the lead.
Common workflows
A) Find leads from a specific week
Set the date range to that week
Click Search
Review the results or click Export (CSV)
B) Find a lead using email or phone
Enter Email or Phone Number
Click Search
Open the result and check Notes or SessionID for context
C) Trace a lead back to the conversation
Copy the lead’s SessionID from the table
Go to Leads → Chat Logs
Paste the SessionID into the search field to see the full chat
D) Export leads for outreach or reporting
Set the date range (e.g., last 30 days)
(Optional) Filter by Notes keyword like “quote” or “booking”
Click Export (CSV)
Upload to your CRM or share with your sales team
Troubleshooting
“No data”
Try the following:
Expand the date range
Click Reset, then search again
Confirm your Lead Form has fields enabled and is saved
Ensure the chatbot is live/embedded and receiving chats
Missing email/phone/name
This usually means:
The field toggle is OFF in Lead Form, or
The user didn’t submit the form (if it wasn’t mandatory)
To fix: Go to Leads → Lead Form and enable the fields you need (then Save).
Export is empty or missing records
Export only downloads what matches your current filters
Clear filters (Reset) + widen the date range, then export again
Best practices for lead quality
Keep the Lead Form short: First Name + Email is a strong default
Use Obligatory Pre-Chat Form only when you need serious intent (quotes/bookings)