

Lead Form Help Guide
The Lead Form lets your chatbot collect visitor details (like name, email, phone, and a short message) so you can follow up and convert chats into real leads.
You can find it here:
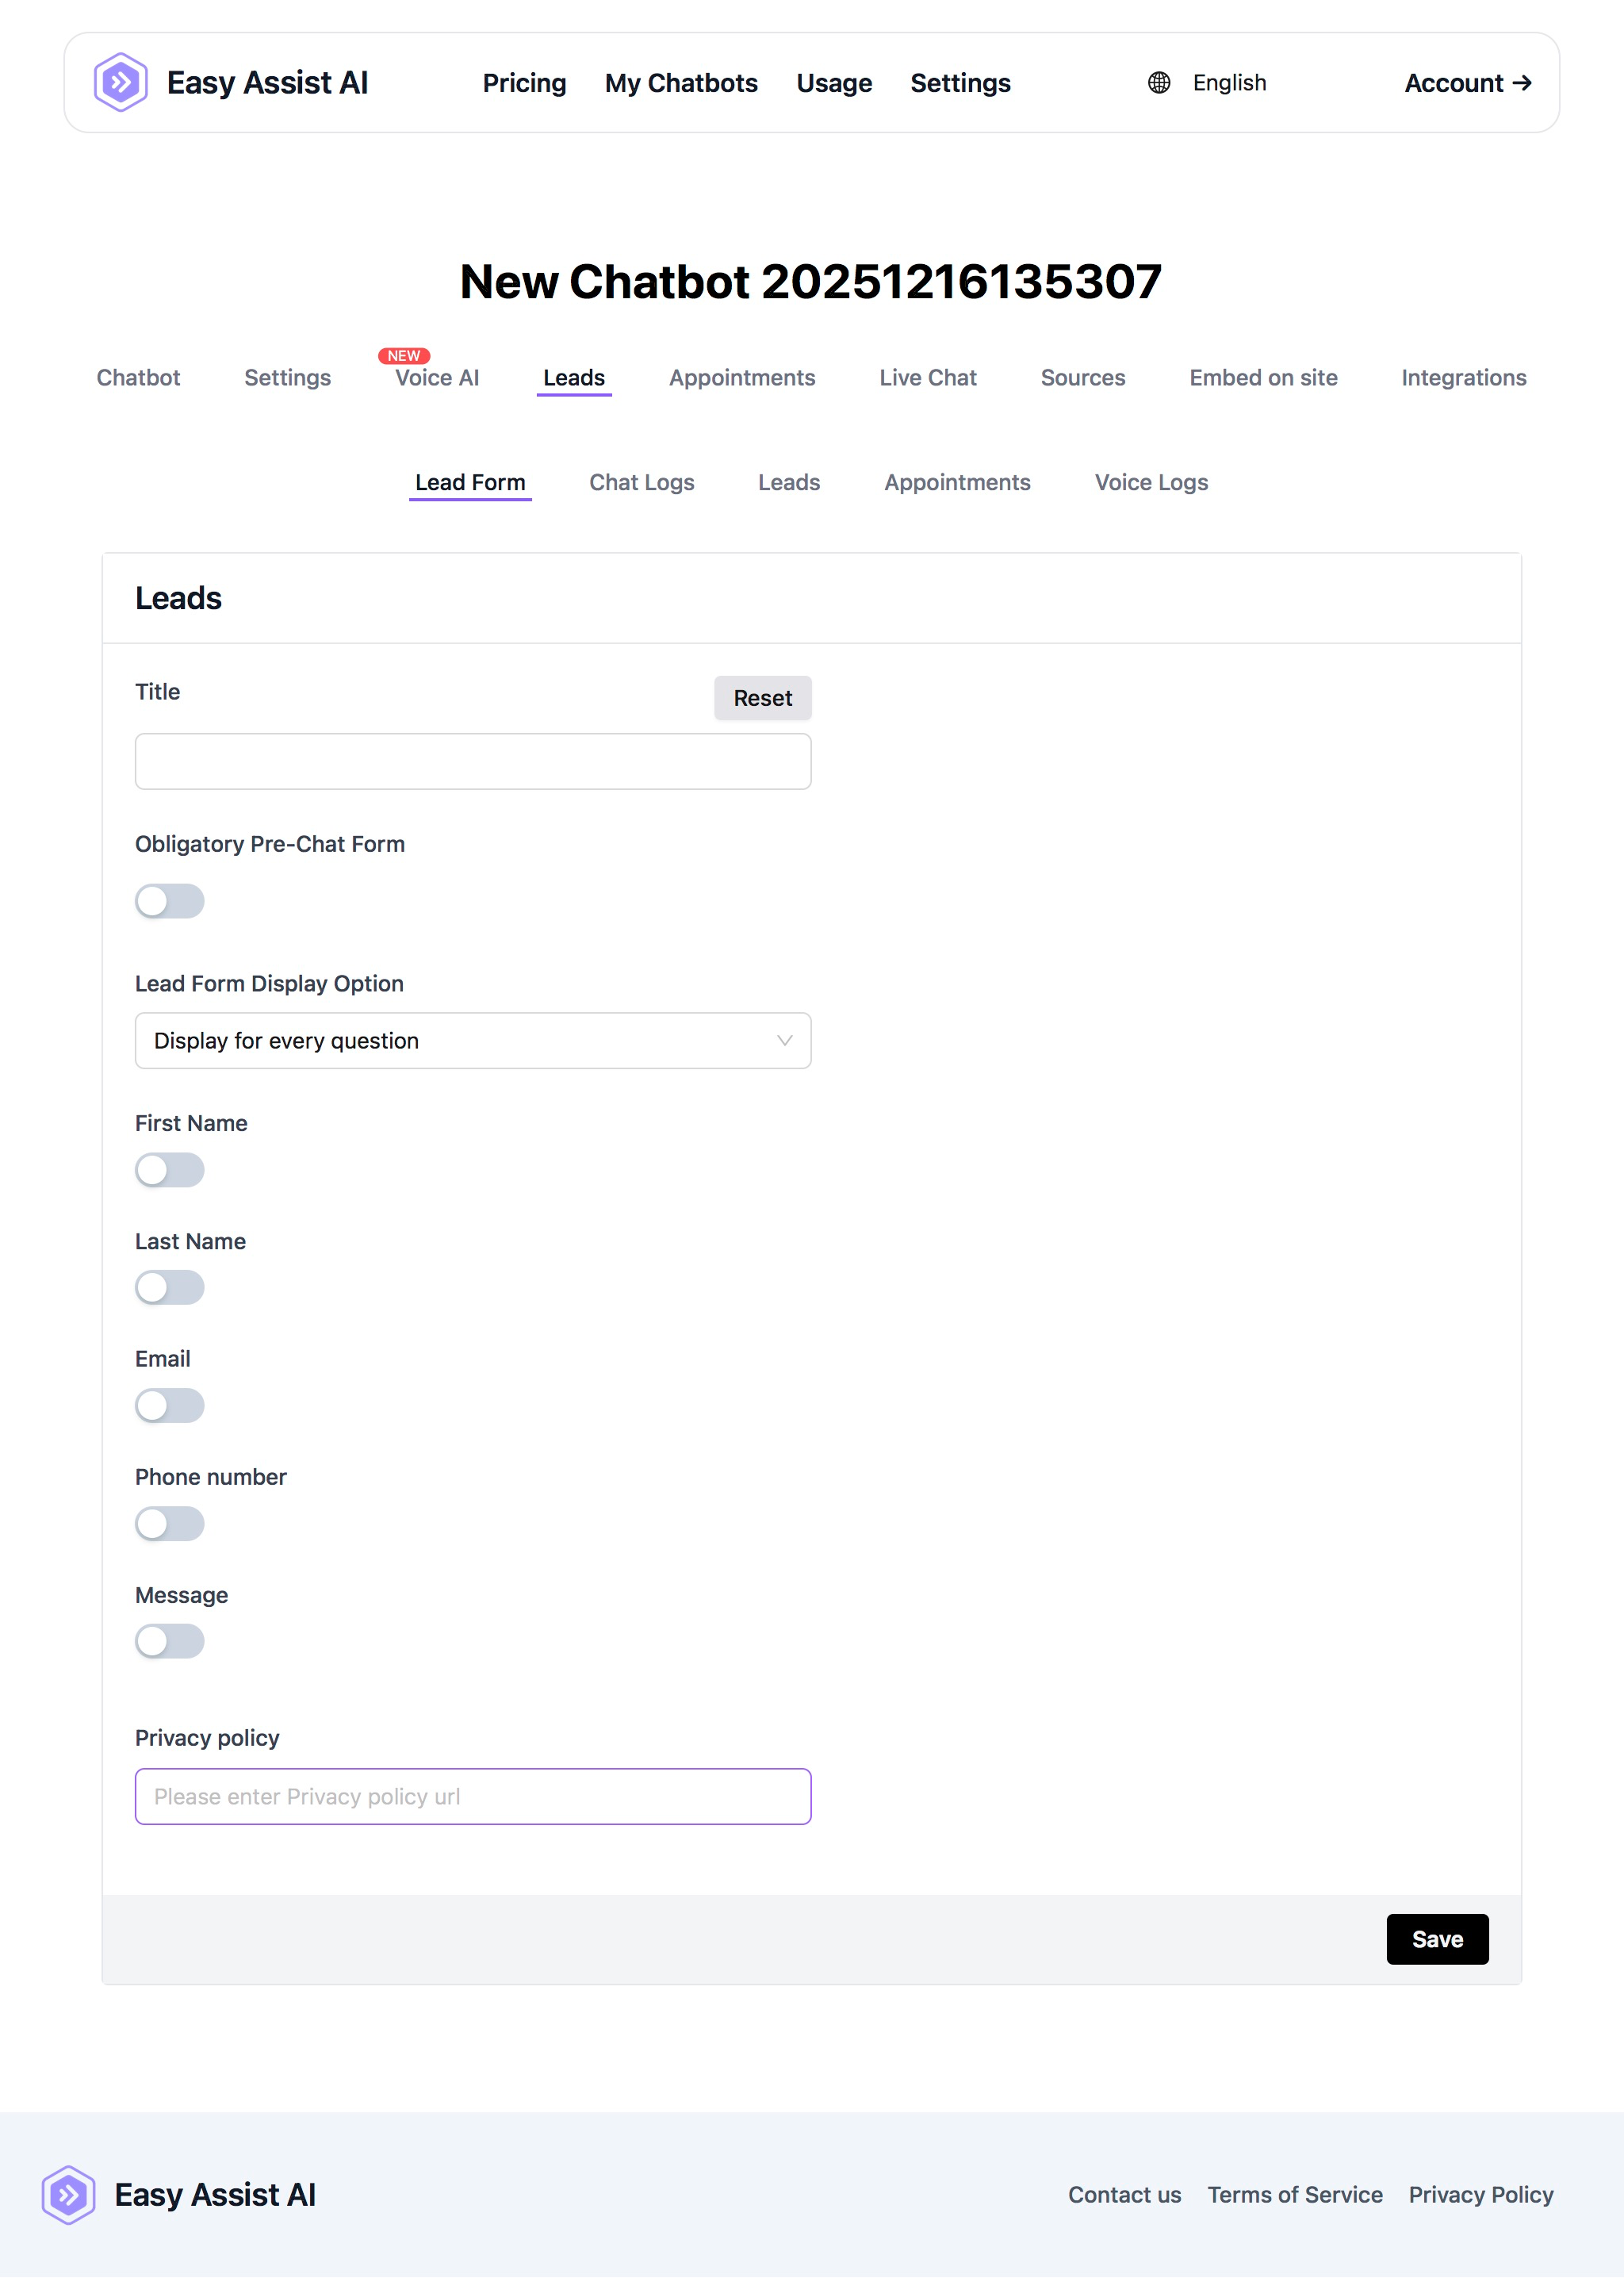
My Chatbots → (Select a Chatbot) → Leads → Lead Form
What the Lead Form does
When enabled, the chatbot can display a short form to ask for contact details. Submitted entries are saved as Leads, which you can review in the Leads section (along with Chat Logs, Appointments, and Voice Logs).
Common uses:
Capture inquiries from website visitors
Collect booking/contact info before scheduling
Get email/phone for follow-ups and promos
Reduce anonymous chats and improve conversion
Lead Form settings (field-by-field)
1) Title
A label/title for your lead form (what you want the user to see at the top of the form).
Examples
“Get a Quote”
“Book a Consultation”
“Request a Callback”
2) Reset
Restores the Lead Form settings back to default (useful if you want to start over).
3) Obligatory Pre-Chat Form (toggle)
OFF: Visitors can start chatting immediately (the form may appear later depending on your display option).
ON: Visitors must complete the form before they can begin chatting.
Best practice
Turn ON for high-intent flows (pricing, booking, quotes).
Keep OFF if you want low-friction discovery chats.
4) Lead Form Display Option (dropdown)
Controls when the lead form appears during the chat experience.
In general:
If set to something like “Display for every question”, the form may appear repeatedly and can feel intrusive.
Prefer options that show it once per session or only on specific triggers (if available in your dropdown).
Best practice
Show the form once, either at the start (pre-chat) or after the user shows intent (“I want to book”, “price”, “quote”, etc.).
5) Form fields (toggles)
Each toggle turns that field ON (collected) or OFF (hidden).
Available fields:
First Name
Last Name
Email
Phone number
Message
Recommended setups
General inquiries: First Name + Email + Message
Bookings/appointments: First Name + Email + Phone
Sales qualification (B2B): First Name + Last Name + Email + Message
Tip: Collect the minimum needed to follow up. Shorter forms convert better.
6) Privacy Policy (URL field)
Paste the link to your business’s privacy policy page (example: https://yourdomain.com/privacy-policy).
Why this matters:
Builds trust
Helps with compliance and transparency (especially when collecting email/phone)
Best practice
Use your website privacy policy page.
If you don’t have one yet, create a simple privacy policy page and link it here.
7) Save
Always click Save after making changes—your toggles and settings won’t apply until saved.
Quick setup checklist (recommended)
Add a clear Title (ex: “Book a Consultation”)
Decide if you want Obligatory Pre-Chat Form ON or OFF
Choose a Lead Form Display Option that won’t interrupt the chat too often
Turn ON only the fields you really need (usually Name + Email)
Paste your Privacy Policy URL
Click Save
Troubleshooting
The form isn’t showing
Confirm you clicked Save
Make sure at least one field is toggled ON
Check the Lead Form Display Option (it may be set to show only in certain situations)
The form is showing too often
Change Lead Form Display Option away from “every question” (if another option is available)
Keep the form short (fewer fields)
Leads are incomplete
Turn ON the key fields you need (Email/Phone)
Consider enabling Obligatory Pre-Chat Form for critical flows (bookings/quotes)
Best practices to improve conversions
Keep it short (2–3 fields is ideal)
Ask for Email first (most useful for follow-up)
Use a benefit-driven title (“Get a Quote”, “Get Pricing”, “Book Now”)
If you require phone numbers, explain why in your chat flow (“So we can confirm your appointment.”)